Alight Motion Green Screen, Clipping Masks, Null Objects & 3D Camera Guide
Master Chroma Key spill cleaning, multi-layer Mask Groups, parent-child rigging with Null Objects, and true Z-depth 3D parallax camera sweeps.
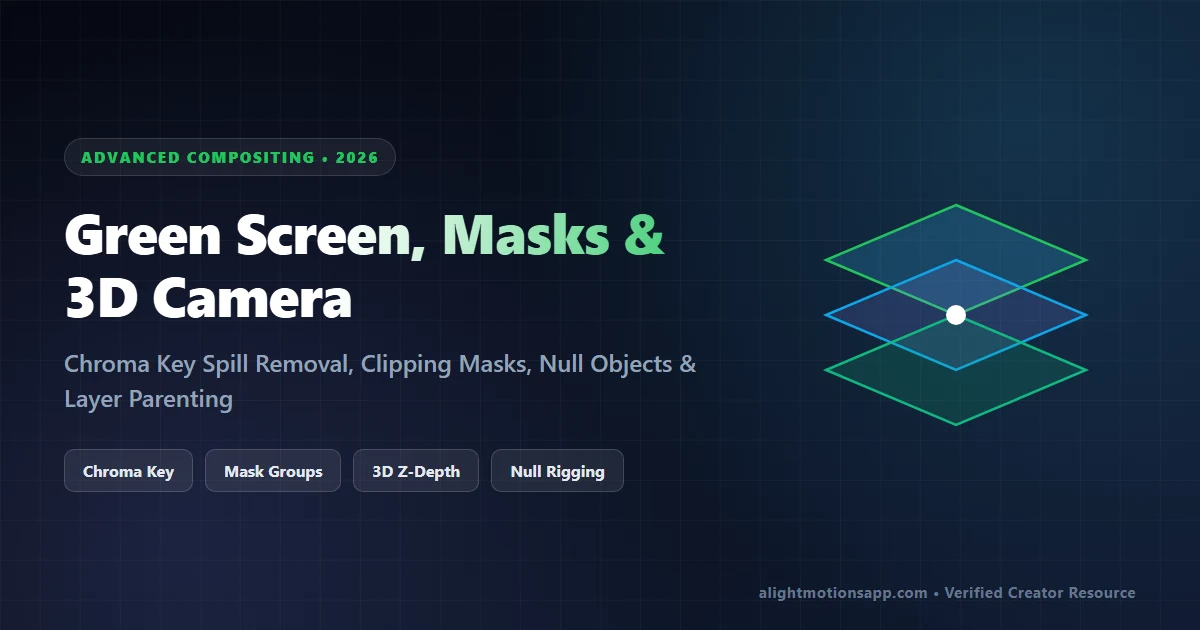
- The Mask Shape must sit BELOW the target media layer before tapping the 2nd Group (Mask) icon.
- Use Chroma Key + Spill Suppression for green screens, and Blending > Lighten > Screen for black-background particles.
- Toggle Active Camera View ON in the viewport bar to preview Z-depth parallax movements accurately.
Pro Compositing: Masking, Chroma Key & 3D Depth on Mobile
Basic trim editors trap creators inside flat 2D slides. Once you master mask groups, clean green-screen mattes, and null-rigged 3D depth parallax, your edits look genuinely three-dimensional—the exact technique behind top anime typography intros and split-screen car reels.
How to Create Clipping Masks & Exclusion Masks (Step-by-Step)
Confused by Alight Motion’s mask icons? Selecting two stacked layers reveals three small squares at the top action bar:
| Group Button Icon | What It Does | Best Real-World Use Case |
|---|---|---|
| Standard Group (Icon 1) | Combines layers into a single foldable folder track | Organizing 6 text lines or animations together cleanly |
| Mask Group (Icon 2 — Circle in Square) | Clips upper layers strictly INSIDE the bottom shape outline | Video playing inside giant letters, split-screen cards, photo frames |
| Exclude Group (Icon 3 — Overlapping Cut) | Punches a transparent hole wherever overlapping shapes meet | Custom circular ring cutouts, hollow frame overlays |
- Build a Text/Shape Video Mask: Place a bold Rounded Rectangle or Shape on Track 1, then drop your video clip on Track 2 directly ABOVE the shape.
- Hold down both layer eye icons on the right edge to multi-select them (you must select at least 2 layers—remember the base shape sits at the bottom of the selected stack!).
- Tap the 2nd Group Icon (Mask Group) on the top toolbar. Your video now plays exclusively inside the rounded shape or frame boundaries!
- To Animate Inside the Mask: Select the Mask Group > tap Edit Group at the bottom panel to pan or zoom the inner clip without moving the outer frame window.
Green Screen Chroma Key & Black-Background Luma Key
When overlaying 3D particle effects, muzzle flashes, or green-screen anime characters:
- Chroma Key (Green/Blue Screens): Select the overlay > Effects > Add Effect > Matte / Mask / Key > Chroma Key. Tap the Key Color eyedropper onto the green backdrop. Adjust Threshold (~
35%–45%) until green vanishes cleanly, raise Feather slightly (5%–10%) to soften jagged edges, and add Matte / Mask / Key > Spill Suppression if bright green reflections tint your subject’s hair! - Luma Key & Screen Blending (Black Backgrounds): Do NOT run Chroma Key on black-screen smoke or neon light overlays! Instead tap Blending & Opacity > Lighten > Screen (instant mathematical black transparency with zero jagged fringe!), or apply Luma Key for bright sky/paper cutouts.
Layer Parenting, Null Objects & True 3D Camera Sweeps
Animating 12 floating photos individually across screen turns timelines into chaos. Tap (+) > Object & Camera > Null to create an invisible controller crosshair. Select your photo layers > tap the Parent Link Icon (top bar next to Copy/Delete) and point every child layer to the Null 1 parent.
Now turn on 3D Camera via (+) > Object & Camera > Camera and toggle the View Active Camera eyeball ON at the top-right canvas bar. Separate your child layers along Z-depth inside Move & Transform (`Z = -400`, `Z = 0`, `Z = +300`), then smoothly keyframe the Camera’s XYZ position and rotation—foreground layers sweep faster than background layers with natural depth parallax! Pair with our Cubic Bezier S-Curves for velvet motion.
100% VirusTotal Verified • XML Unlocked • Fast Google Drive CDN (Opens New Tab)
Frequently Asked Questions
Why did my Mask Group invert or turn completely invisible in Alight Motion?
Alight Motion always uses the BOTTOM-MOST selected layer as the mask boundary shape. If you placed the shape above the video clip before grouping, the video acts as the mask and hides the frame. Drag the shape underneath your clip first.
How do I remove green outlines around hair after using Chroma Key?
Add the ‘Spill Suppression’ effect (found under Matte/Mask/Key) right below Chroma Key, or nudge Feather up to 8% to clean green color bleed.
Why isn’t my 3D Camera moving when I keyframe Camera Position?
You must toggle ‘Active Camera View’ ON using the little camera icon button located inside the preview viewer bar—otherwise Alight Motion displays the static Default Canvas view rather than your animated camera lens.