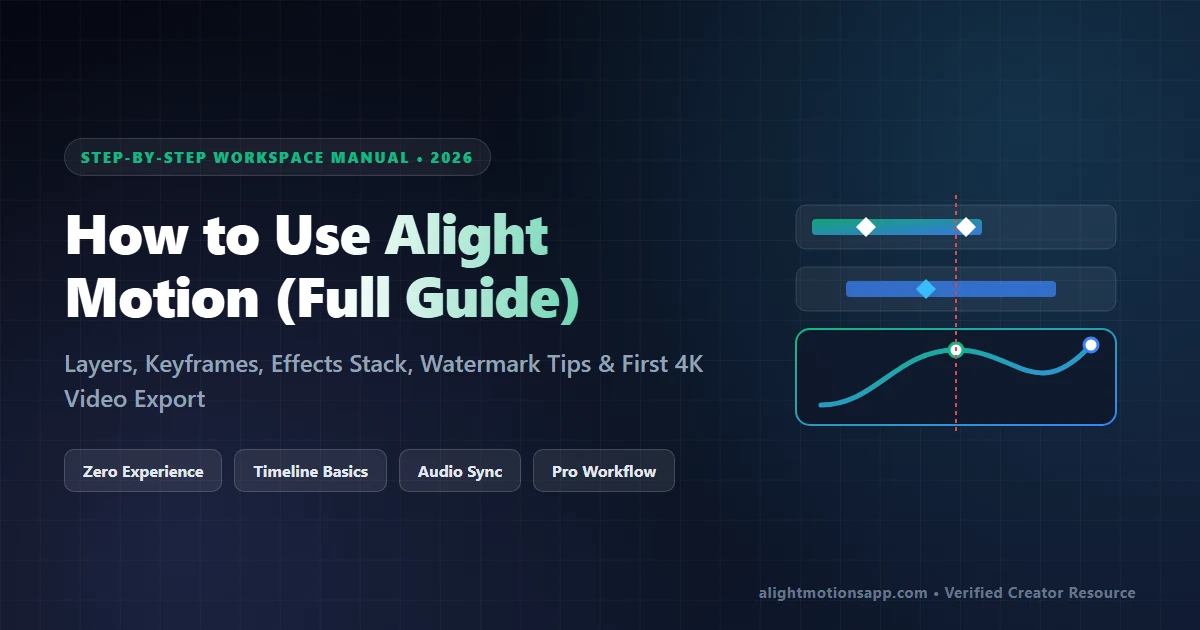
How to Use Alight Motion: Complete Beginner to Pro Guide (2026)
Master the workspace, aspect ratios, multi-layer stacking, keyframe diamonds, effect order, watermark removal, and clean 60FPS exports in one guide.
- Select 9:16 (1080p 60FPS) for TikTok/Reels or Checkered Transparent for overlays when creating a new project.
- Always stack Tiles (Mirror: ON) at the top of your Effects list before adding shakes or blurs.
- Export with H.264 Codec (avoid HEVC on budget Androids) and bookmark beat spikes before cutting clips.
What Is Alight Motion Used For & How Does the Workspace Work?
Opening Alight Motion for the first time feels intimidating because it puts desktop animation principles—keyframing, layer parenting, blending modes, and Cubic Bezier curves—right onto a touchscreen. Once you understand five core panels, however, editing viral Reels, anime AMVs, and kinetic lyric intros takes minutes instead of hours.
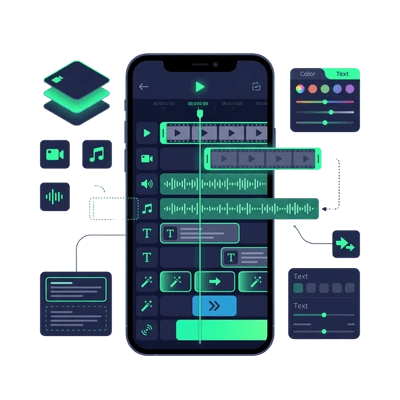
Step 1: Project Setup (Resolution, Aspect Ratio & Framerate)
Tap the glowing green (+) button at the bottom of the Projects tab to launch a new canvas. Choosing the wrong preset here causes blurry social uploads or cropped edges later:
| Destination Platform | Aspect Ratio | Resolution | Framerate (FPS) | Background |
|---|---|---|---|---|
| TikTok, Reels & Shorts | 9:16 Vertical | 1080 × 1920 | 60 FPS | Black (#000000) |
| YouTube Landscape & AMVs | 16:9 Widescreen | 1920 × 1080 or 4K | 60 FPS | Black (#000000) |
| Instagram Carousel & Status | 4:5 or 1:1 Square | 1080 × 1350 | 30 or 60 FPS | Dark Gray / Black |
| Transparent Overlay Sticker | Any Ratio | 1080p | 60 FPS | Transparent (Checkerboard) |
Note about the Checkered Background option: selecting Transparent lets you render lower thirds, animated logos, and watermarks cleanly as PNG sequences or transparent assets for layering inside other edits.
Step 2: Adding Video Clips, Audio Tracks, Shapes & Text
Inside your timeline editor, tap the bottom-right (+) icon to reveal five creation tabs:
- Shape: Creates resolution-independent SVG primitives (circles, rounded rectangles, stars, arrows). Round Rectangles serve as your primary building block for masking and adjustment cards.
- Media: Imports MP4 videos, PNG cutouts, GIFs, and background photography straight from your device storage.
- Audio: Adds MP3 or WAV soundtracks so you can drop red rhythm bookmarks before slicing clips.
- Object & Camera: Adds Null Objects (invisible parent controllers for moving 10 layers at once) and virtual 3D Cameras.
- Vector Drawing & Freehand: Lets you sketch bespoke logo paths, outlines, and mask curves directly with your finger or stylus.
Essential Timeline Gestures Every Beginner Must Know
- Split vs Trim: Drag the playhead to the exact split frame, select your clip, and tap the middle Split blade icon to cut it in two. Use left/right trim buttons to chop everything before or after the playhead cleanly.
- Layer Order & Blending: Layers higher in the vertical stack cover layers below them. Long-press the right drag handle on any layer to reorder stacking priority, or tap Blending & Opacity > Lighten > Screen to make black-background light leaks transparent!
- Bookmark Audio Beats: Play your song track and tap the ribbon icon right beside the timestamp counter on every bass hit—white/red markers snap clips accurately without guessing.
Step 3: Adding Your First Keyframe & Smooth Effect
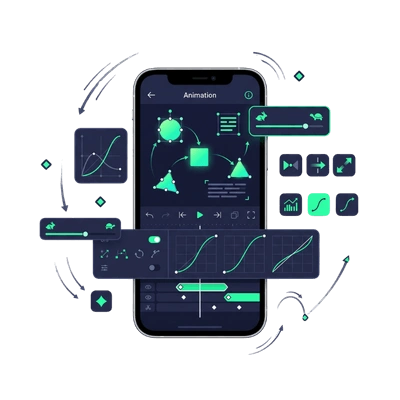
Never settle for rigid static slides. Select any photo, text, or clip layer > tap Move & Transform > move the timeline playhead to the start > tap the Diamond (+) Keyframe Button on the left edge. Drag your object slightly down or zoom scale to 115%, scrub 20 frames right, and tap a second keyframe returning to 100%.
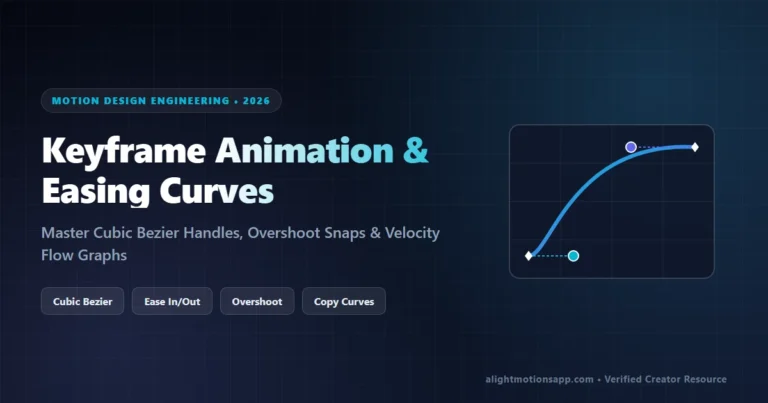
Now tap the curve button directly below the keyframe diamond and pull the bottom handle right and top handle left—instantly turning a robotic linear zoom into fluid studio motion! Dive deeper inside our dedicated Keyframe & Cubic Bezier Graphs Guide.
Step 4: Mastering Effects, Copy/Paste & XML Presets
Tap any layer > Effects > Add Effect to browse over 160 modular blocks organized by Color, Blur, Distortion/Warp, Procedural, and Opacity. Remember two critical rules:
- Stack Order Matters: Alight Motion computes effects from top to bottom. Put Tiles (Mirror: ON) ABOVE any Oscillate shake or Motion Blur block so moving frames reflect smoothly instead of clipping to black borders.
- Copy Effects Across Clips: Once an adjustment card or clip looks amazing, tap Effects > Three Dots (Bottom Left) > Copy Effects and paste across dozens of clips in seconds—or save time completely with ready-made templates from our Trending Presets Hub.
Step 5: Exporting in 4K 60FPS Without Watermarks
On the standard free Play Store release, tapping the top-right Export icon stamps an “Alight Motion” badge into the bottom-right corner and locks 4K/XML tools. To remove the watermark legitimately on the Play Store version, you either subscribe to an Alight Creative membership, crop out the lower-right safe margin carefully, or install our verified Alight Motion Mod APK v5.0.281 (Pro Unlocked) where watermark-free 1080p60 and 4K rendering come enabled natively.
When ready to render, tap the Export arrow > expand Video > verify Resolution (1080p for Reels/TikTok or 4K for YouTube), Framerate 60 FPS, Codec H.264, and Quality slider around 22–38 Mbps, then hit Export!
100% VirusTotal Verified • XML Unlocked • Fast Google Drive CDN (Opens New Tab)
Frequently Asked Questions
How do you remove the Alight Motion watermark for free?
You can download our verified Pro Unlocked APK v5.0.281 (which disables the export watermark cleanly with 4K 60FPS unlocked) or render with extra safe margin on the official free Play Store app and crop the bottom corner afterward.
How many layers can Alight Motion handle without lagging?
Flagship 8GB–12GB RAM phones comfortably handle 25+ stacked layers with shaders. On 3GB–4GB phones, turn on Low Quality Preview inside Settings or stick to 6–8 active effects per scene.
Can complete beginners use XML templates instead of animating manually?
Yes! Download verified offline .xml files from our XML Hub, Share them into Alight Motion, and swap the placeholder clips inside Color & Fill with your own photos and videos.